Unfolding a Masterpiece: Your Guide to Drawing Complex Flowers
Do you ever feel intimidated by the complex beauty of flowers? Drawing them isn't about magical talent; it's about learning to see them as a series of simple shapes and manageable steps. This guide will help you break down the process, transforming your intimidation into a new appreciation for the artistry behind every petal.
9/1/20255 min read
Honestly, have you ever looked at a rose or a dahlia and just thought, "Wow, how does anyone even begin to draw that?" I get it. The sheer number of petals, the way they curl and overlap, the subtle shifts in light and shadow—it's enough to make you want to just admire them from afar. But here's the thing: that feeling of being overwhelmed? It's completely normal. The secret isn't some magical, unattainable talent. It's about breaking down the impossible into a series of small, surprisingly manageable steps. Think of it like a gardener cultivating a prize-winning bloom; you start with the soil and the seed, not the final, magnificent flower.
This journey into drawing complex flowers is a lot like that. We’re not going to try to recreate every single, tiny detail all at once. Instead, we'll learn to see the flower not as one big, confusing mass, but as a collection of simple shapes and lines, all working together to create something truly beautiful. By the end of this, you’ll have a new appreciation for the artistry behind every petal and, just maybe, a new skill to call your own.
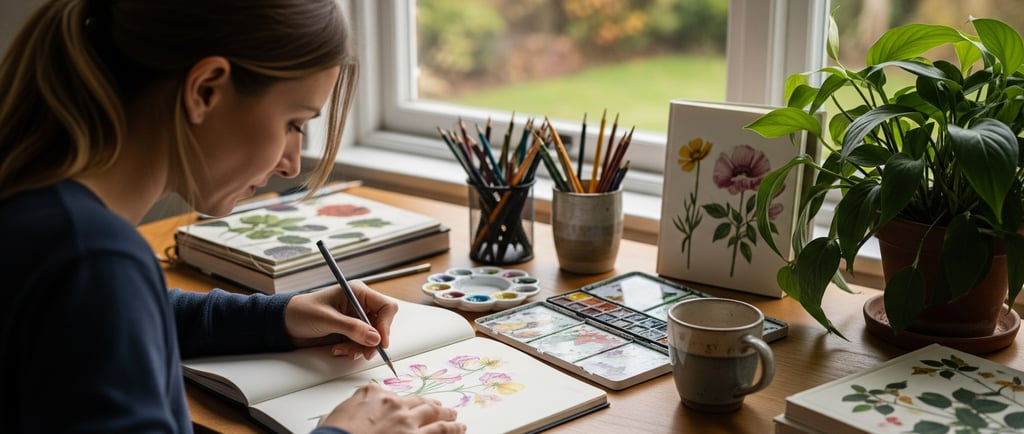
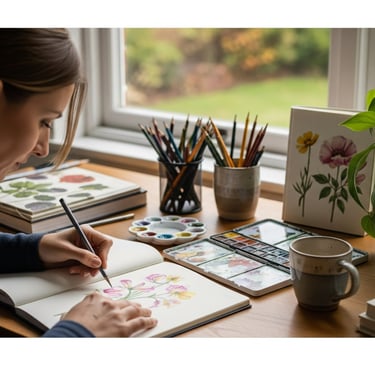
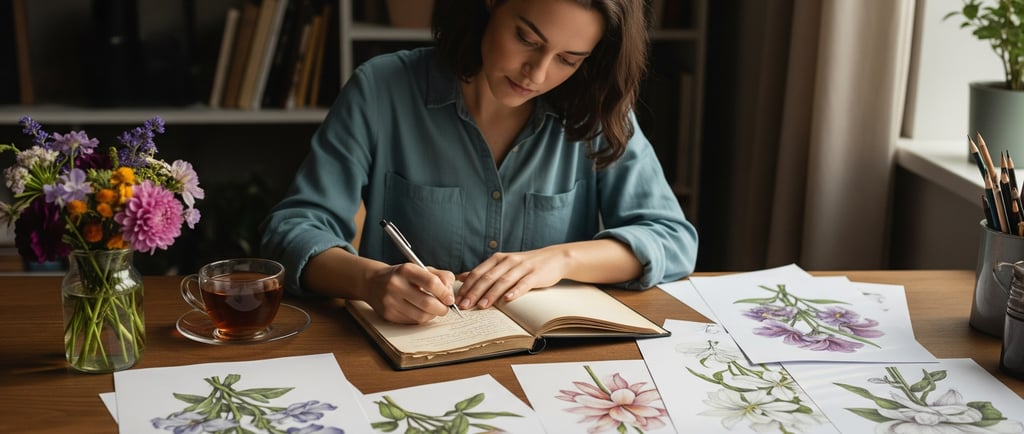
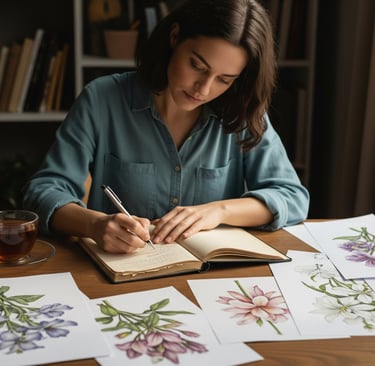
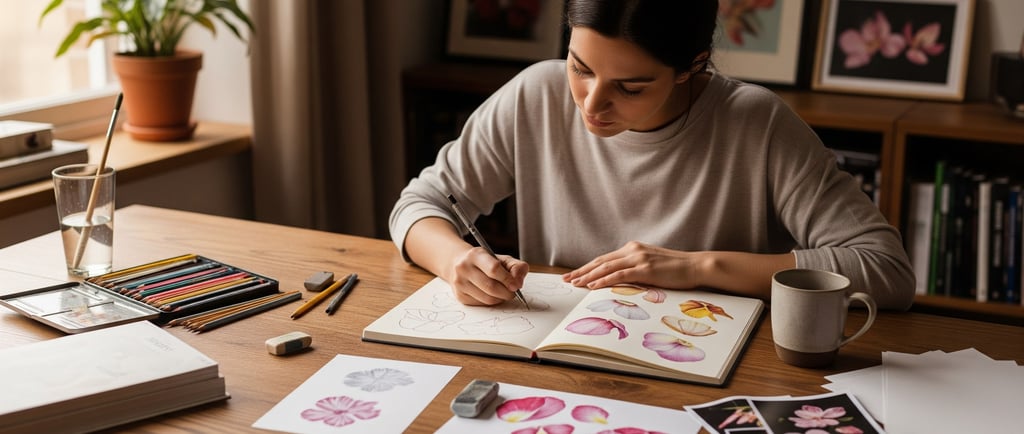
Let’s be real for a second: you don’t need a fancy art studio or a huge investment in supplies. All you really need to get started on your flower drawing tutorial is a pencil, some paper, and a little patience. Maybe a good cup of tea, too.
The Big Picture: Seeing Simple Shapes in a Sea of Petals
Before you even touch your pencil to paper, you’ve got to do a bit of detective work. Look at your subject—be it a rose, a hydrangea, or a peony—and find the basic geometry hiding within. You know what? This is probably the most important part of the whole process. That fluffy peony that seems to have a thousand petals? It’s really just a few concentric circles. A delicate tulip? It's a simple cup shape with a few elegant lines for the petals.
Once you can spot these fundamental forms, you’ve got your foundation. These initial, light-handed sketches are your scaffolding. They're not meant to be perfect. In fact, a bit of imperfection is great because it makes your final piece feel more organic, more alive. Don't press down hard; a 2H or even a 4H pencil is your best friend here. These harder leads leave a light, almost ghost-like mark that you can easily erase or build upon later. It's the artistic equivalent of sketching out your garden beds before you plant the seeds.
FAQs About Sketching Botanicals
What kind of pencils should I use for shading?
For adding depth and dimension, switch to softer leads like a B, 2B, or 4B. These are your shadow-builders, offering a smoother, darker tone that you can easily blend.
Should I use a reference photo or a real flower?
Both are fantastic! A real flower offers an unparalleled opportunity to study light and texture firsthand, but a reference photo allows you to pause and zoom in on specific, detailed flower petals without the risk of the flower wilting.
How do I get my drawing to look more realistic?
Focus on observation. Pay attention to how the light hits a petal and where the shadows fall. Don’t just draw what you think a flower looks like—draw what you actually see.
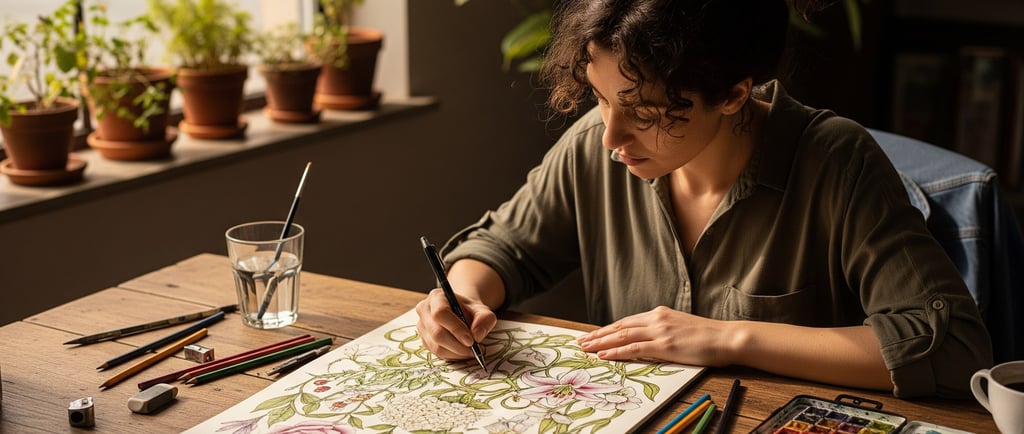
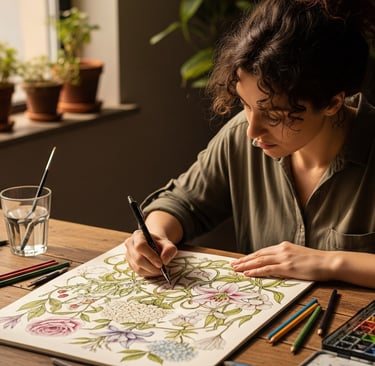
Building Layers: From Flatness to Form
Here's the fun part: bringing your sketch to life. The key to creating a truly realistic flower is to think in layers. Whether you're using graphite or colored pencil art, you’re not just coloring inside the lines. You’re building up color and value, little by little, to create a sense of three-dimensionality.
Think of it this way: your first layer is like laying down a primer coat of paint. It’s light, even, and sets the stage. As you add more layers, you can introduce different colors, subtly shifting from a pale pink to a deeper magenta, or from a soft grey to a rich charcoal. This is where your drawing really starts to sing.
You might even find yourself using a technique like cross-hatching or stippling. These are just fancy words for building up value with small lines or dots. You’ve probably seen it before—a bunch of tiny, intersecting lines that create a darker shade, or a collection of dots that look like a dark, textured area from a distance. These methods are perfect for capturing the intricate surfaces of a sunflower's center or the soft folds of a rose petal.
A good tip? When working with color, start with your lightest shade and gradually add darker ones. You can always add more color, but you can’t easily take it away. That's a lesson every artist learns the hard way. It's a bit like baking—you can always add more sugar, but it's much harder to un-sweeten a cake!
The Magic of Light and Shadow
This is where the magic really happens. Light and shadow are what give your drawing depth and make it pop off the page. Without them, your beautiful line drawing will just look, well, flat.
To get this right, you need to understand one simple principle: whatever is closest to the light source is the lightest, and whatever is furthest away or hidden from the light is the darkest. A petal that overlaps another will cast a shadow, making the area beneath it darker. The little folds and creases in a petal will create their own tiny shadows, giving them form and texture.
You can use a blending stump (or even a rolled-up piece of paper!) to smooth out your graphite and create soft, gradient shading. This helps transition from a dark shadow to a light highlight in a natural, organic way. Don’t be afraid to use a good kneaded eraser to lift color and create those brilliant highlights that make a petal look dewy and fresh. It’s an invaluable tool for any artist working with pencils.
When It's a Petal, Not Just a Shape
Okay, so you’ve got the basics down. Now, let’s talk about the nuances that make your drawing feel like a living thing. This is about injecting personality into your art.
Vary your lines: A confident, dark line for a petal's edge can create a bold statement, while a light, broken line can suggest a soft, delicate texture.
Play with perspective: Don't draw every flower head-on. Show some flowers from the side, some from the back, and others in various stages of bloom. This makes the whole piece feel more dynamic and realistic.
Add natural digressions: A subtle tangent, like a small insect resting on a leaf or a drop of morning dew, can make your botanical illustration feel spontaneous and in the moment. It’s a bit like how a conversation meanders; it adds charm and authenticity.
Remember, every stroke is a decision. You're not just moving a pencil; you're capturing the essence of a living thing. And honestly, that’s a pretty profound thing to do. So go ahead, grab your tools, and get started. The world of floral art is waiting for you, one petal at a time.
Explore
Discover Arizona's vibrant wildflower beauty today.
Nature
Flora
© 2024. All rights reserved.